
This is post number (2) of the “Switching to the MacBook” series.
In the first post, I talked about what triggered the switch from the iPad Pro to the Mac as a main (mobile) computer.
In this post, I cover my new setup; the chosen MacBook model, setting up the Mac, initial role distribution between Mac and iPad, initial list of accessories, and initial thoughts of the transition.
# Which Mac?

For the transition, I chose the M1 MacBook Pro 13” configured with 16 GB of universal memory (RAM), 1 TB of storage, and space gray color.
I know that newer MacBook Pros were recently introduced with notable upgrades (processor, screen, design), but I believe they are more than what I need.
The M1 MacBook Pro is powerful, especially with the higher memory/RAM model, and is reasonably priced.
How do I know that this would be powerful enough for my needs? Well, I have had the M1 Mac mini for about a year. It has been very smooth and powerful in completing all my needed tasks. The only issue I sometimes faced was the limited memory/RAM, which prompted me to pick up the 16 GB memory/RAM MacBook Pro model.
In addition to the processing power, the M1 MacBook Pro 13″ is light, thin, and battery efficient, which makes it more mobile friendly! This is very important to me as I need a truly mobile computer that I could easily move around from my home office, other areas of my home, coffee shops, etc.
# Setting up the Mac
For setting up the MacBook, I had the option of restoring the full backup I had on my M1 Mac mini. However, I preferred to start fresh on the new device as this would help clear out any junk I have had, and force me to be more thoughtful about what apps and files/folders I really need.
To better manage the process, I created a checklist in Reminders with the following main tasks:
- Transferring data
The cloud data (iCloud, Google Drive, and Dropbox) were easily moved. However, the other data saved on the desk (including Photos and Music libraries) had to be transferred manually (via a USB-C SSD external drive).
- Downloading essential apps
I then started installing the apps I know I need including OmniFocus, Apple iWork suite, MS Office, Scrivener, Drafts, Shortcuts, Clean My Mac, ZOOM, Camo Studio, and Google Chrome.
To further boost the utility of the Mac as my main computer, I installed other useful applications, like Text Expander, Magnet (managing windows), and TripMode (managing hotspot data usage).
- Organizing the device
This included tasks, like organizing Finder favorite folders, signing in Mail accounts, organizing the dock, fine tuning some system preferences, and modifying the Touch Bar.
# Initial role distribution (Mac vs iPad)
As alluded to earlier, switching back to the Mac does not mean disregarding my iPad Pro. Each device would be responsible for performing an evolving set of tasks. Initially this is how it looks like:
1) MacBook Pro
- Writing (documents, spreadsheets, presentations, blog posts, etc.)
- Weekly review of projects and tasks
2) iPad Pro
- Hand notes
- PDFs reading and annotations
- Entertainment (YouTube and streaming services). This is done to spare the MacBook Pro of trivial non-work-related tasks!
# Accessories
No computer would properly serve its duties without suitable accessories! Here’s a list of the accessories I bought for the MacBook Pro so far:
- Briefcase (from Tomtoc)

I was looking for a very particular briefcase. I wanted one that is just the right size, light weighted, and with a casual business styling. I also needed it to have a designated pocket to hold a MacBook Pro and another pocket to hold an iPad Pro.
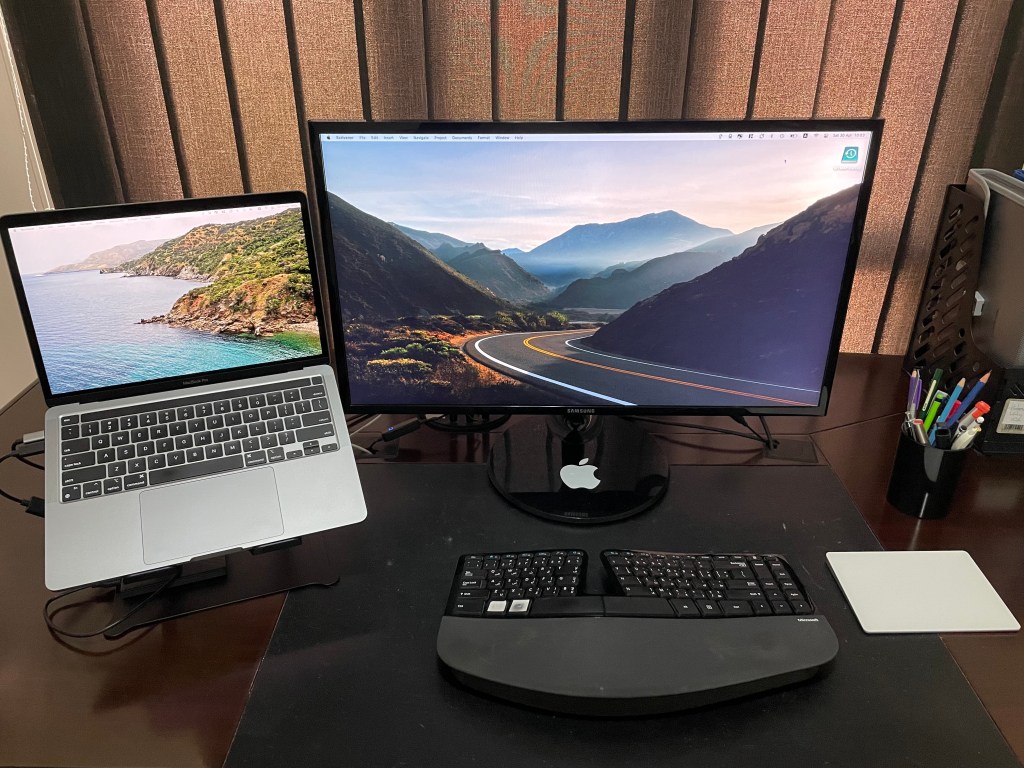
- Laptop stand
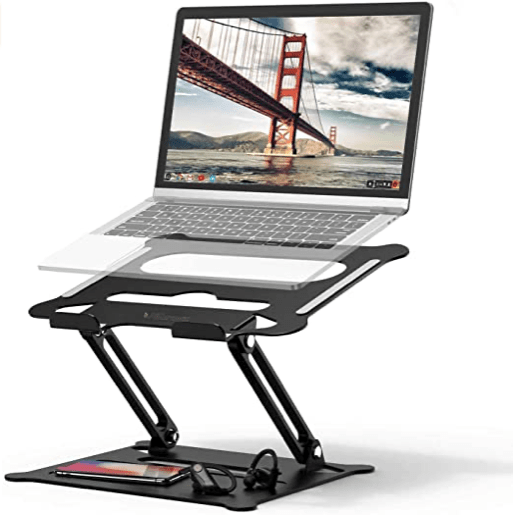
The MacBook Pro would not only serve as a mobile computer, but also as a desktop computer for when I’m at my home office. To properly serve this role, I would need to hook it to my 27” Samsung monitor, use the MacBook screen (raised with a stand from Pillarmax) as a secondary monitor, and use it with my Magic Trackpad and MS Ergonomic Keyboard.
- USB-C hubs
Currently, I’m using the same hubs I had bought for the iPad Pro. They connect the MacBook Pro to the external monitor via HDMI, have a couple of USB-A ports, and have an SD card reader. I’m using a separate USB-A to USB-C hub to connect my Time Machine (backup) external hard disk since I noticed the disk would not properly eject if used with a hub.

- Mat/tray

This product from LapGear is bought to fulfill the mobile computer lifestyle, where I could be using the device anywhere in the house.
# Initial transition thoughts
So, how has the experience gone so far?
Well, I have a few first impression notes for now and more to come in subsequent posts.
1) I’m trying at the moment to force myself to primarily use the MacBook Pro instead of the iPad Pro as I had gotten used to. The goal is to get a better sense of the Mac as a main computer and as a computer on the go, as well as to experiment with suitable usage scenarios and tasks.
2) Related to the first note, I found that I can’t really take the MacBook Pro with me to every place or corner I used to take my iPad Pro to! The iPad with the magic keyboard seems to be a more optimal solution for some scenarios like doing light tasks while sitting on the couch at the family lounge! The MacBook Pro is more fragile and a bit heavier. The tray (above) has helped a bit, but I’m gradually learning where the MacBook Pro is less convenient to use than the iPad Pro.
3) I noticed that, occasionally, I find myself aiming to touch the screen!! This is probably a residual of the iPad usage habits!
As I use the MacBook Pro more and more, I am taking notes of how I am adjusting to the transition, learning more Mac tricks, and accepting situations where the iPad is just more optimal for.
There will be more posts to come in this mini-series, so stay tuned!

One thought on “Setting up the M1 MacBook Pro”